
Publish Static Web Site On Gitlab Pages
Author : Hamza EL YAAQOUBI
Introduction
According to wikipedia :
GitLab is a web-based DevOps lifecycle tool that provides a Git-repository manager providing wiki, issue-tracking and CI/CD pipeline features, using an open-source license, developed by GitLab Inc. The software was created by Ukrainians Dmitriy Zaporozhets and Valery Sizov and is used by several large tech companies including Cisco, IBM, Sony, Jülich Research Center, NASA, Alibaba, Oracle, Invincea
Gitlab offers a powerful option to host static websites directly from its repositories, we talk about Gitlab Pages
We need Pages to publish personal or business websites, such as portfolios, documentations and others.
Pages is available for free for Gitlab.com users as for self managed instance (Gitlab Core, Starter, Premium and Ultimate).
For the need of this article, I took as en example the hosting of a simple html page to illustrate the implementation. Having said that, you can use static site generators (SSO) such as Jekyll, Hugo, Middleman, Harp, Hexo, Brunch and adapt them to your needs.
Note:
Pages does not support dynamic websites written in PHP (.php) or ASP (.asp).
How it works
Step : 1 : Create a new gitlab account
Be sure that you have an accessible gitlab account before all. If not, please create a new account on Gitlab.
Step : 2 : Create a new gitlab project / repository
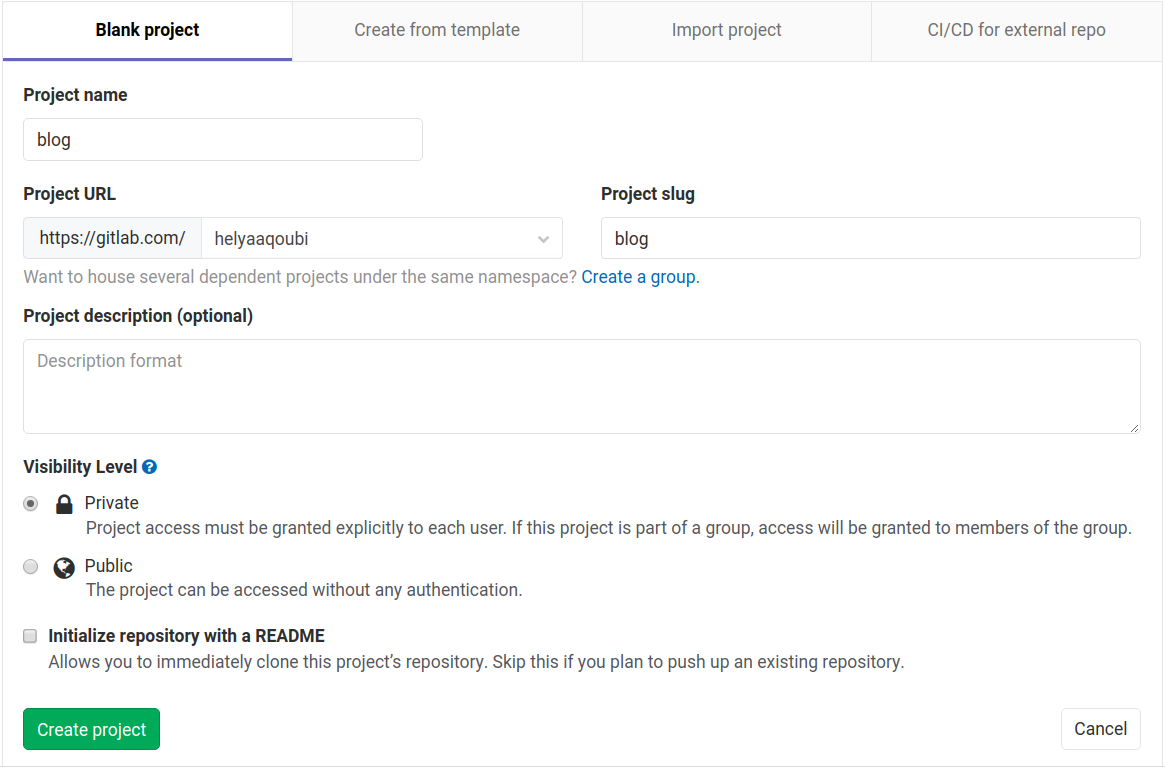
I’v decided to create a new repository blog from an empty gitlab project.
1- Choose project name : blog
2- Choose project slug : blog
3- Choose project visibility level : Private or Public (I’v chosen Private)
4- Finally click on create project button
Step 3 : Clone blog repository
There are many ways to clone / interact with gitlab project using git.
method 1
This method offers the possibility to clone directly the project using SSH or HTTPS repositories url. I will show you how to do that with SSH.
SSH’s url is visible in the home page of the repository.
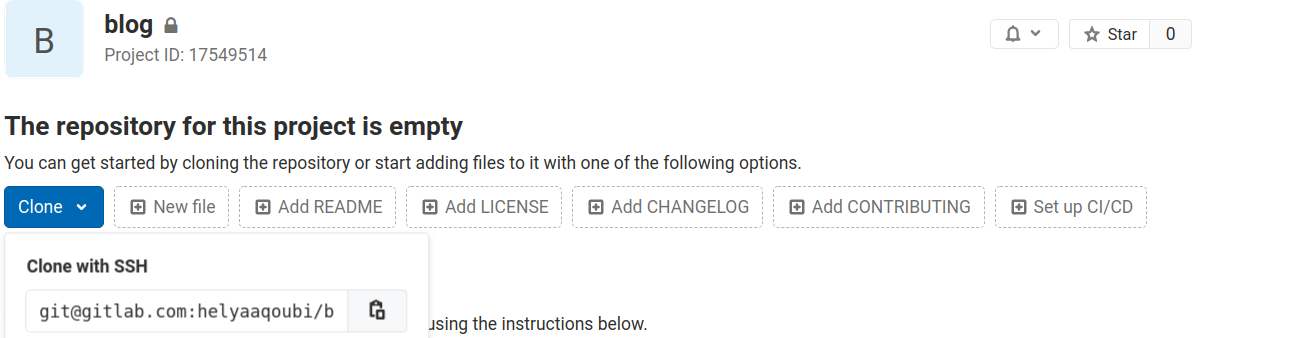
Then, I type the following instructions on terminal :
$> git clone git@gitlab.com:helyaaqoubi/blog.git
$> cd blog
$> touch README.md
$> git add README.md
$> git commit -m "add README"
$> git push -u origin master
method 2
This method allows interacting with repository without cloning it.
I type the following commands on terminal :
$> cd existing_folder
$> git init
$> git remote add origin git@gitlab.com:helyaaqoubi/blog.git
$> git add .
$> git commit -m "Initial commit"
$> git push -u origin master
Step 4 : Create new file .gitlab-ci.yaml
To initialise the CI for the project in order to make site accessible from Pages, I’v created a new file .gitlab-ci.yml with the following content :
pages:
  script:
    - mkdir .public
    - cp -r * .public
    - mv .public public
  artifacts:
  paths:
    - public
  only:
    - master
And push all changes :
$> git add .gitlab-ci.yaml
$> git commit -m ".gitlab-ci.yaml file"
$> git push
GitLab will always deploy your website from a very specific folder called public in your repository.
Note that when you create a new project in GitLab, a repository becomes available automatically.
A specific job called pages in the configuration file will make GitLab aware that you are deploying a GitLab Pages website.
Source: Gitlab Page.
Step 4 : Add index.html file
I’ve created a new html file index.html in the root of the project with the following content :
<html>
<head>
</head>
<body>
<p>Hello from Gitlab Pages !</p>
</body>
</html>
And push all changes :
$> git add index.html
$> git commit -m "add index.html file"
$> git push
Step 5 : Pipeline
Once the code pushed, a gitlab pipeline will be created automatically

Step 6 : Access to site
The site is accessible on url.
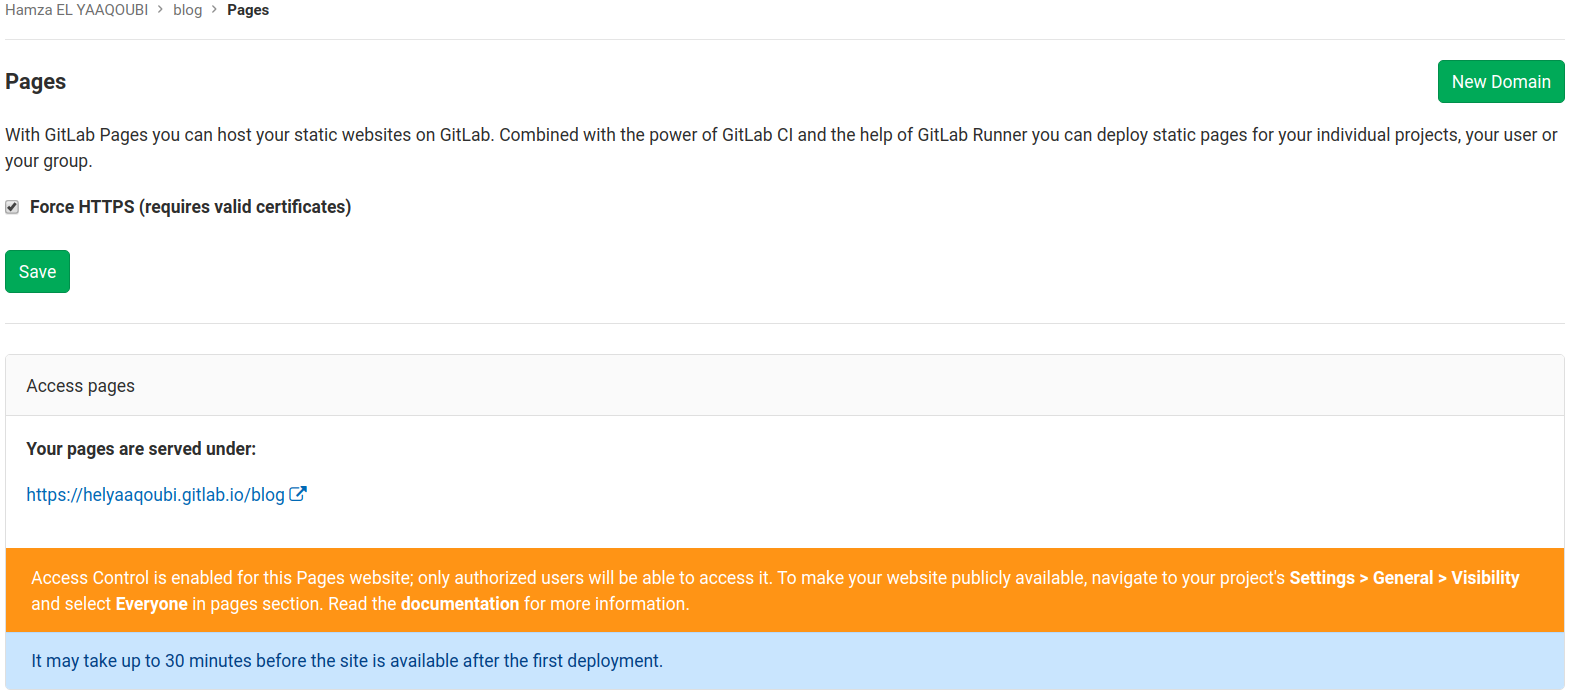
It may take up 30 minutes, before the site is available after the first deployment.
Conclusion
In this article, I want to show you how to publish a static website using Gitlab Pages. You can also use static site generator (SSG) to do that.
That’s it!
Time to get cracking at your new blog :).
Don’t hesitate to send me your feedback, I will be happy to answer it with pleasure.